Hello girls! How are you all? It’s raining cats and dogs in Ahmedabad and I thought this is the perfect time to pamper myself with a cool Monsoon Inspired Nail Art and I decided to make a short tutorial for all of you 🙂 Now this post is something that’s going to bring a wide smile on your face:) So let’s try this creative and quick Nail Art without any expensive nail art tool kit.
P.S. I am not a pro at nail art but I love experimenting with nails, nail colors etc. I do not have any nail art tool kits, nigher I am perfect at drawing, but willingness and efforts can do wonders !! if I can do, you can do as well…. #TRY
Monsoon Nail Art
First of all, you’ll need the following things:
- Nail paints: Dark red, regular blue, yellow, green, white/off white, violet, black and colorless (transparent).
- A bottle of nail paint remover, a small cotton ball, a piece of sponge and a toothpick.
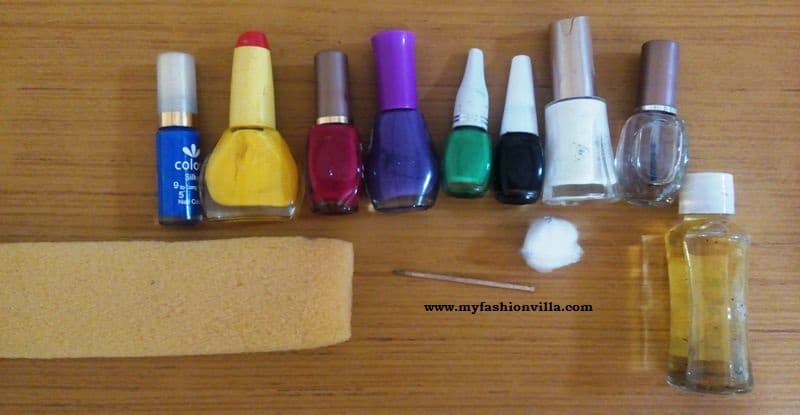
Step by Step Monsoon Nail Art Tutorial
- Paint your two nails with blue color.
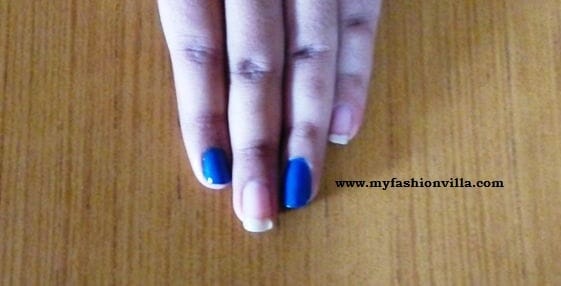
- Take white paint and make three dots at one side of nail and connect them so that it forms a shape of cloud. And then repeat the process at lower part of nail.
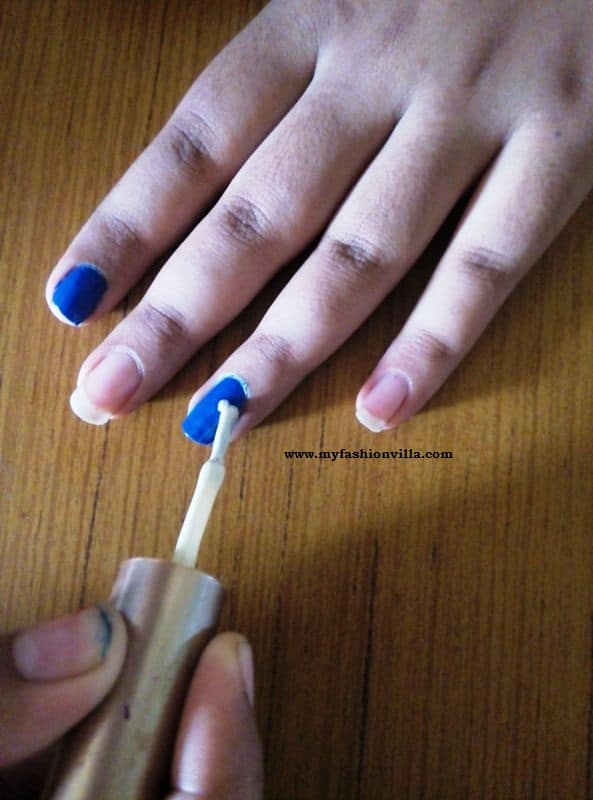
- Make tiny dots below each cloud.
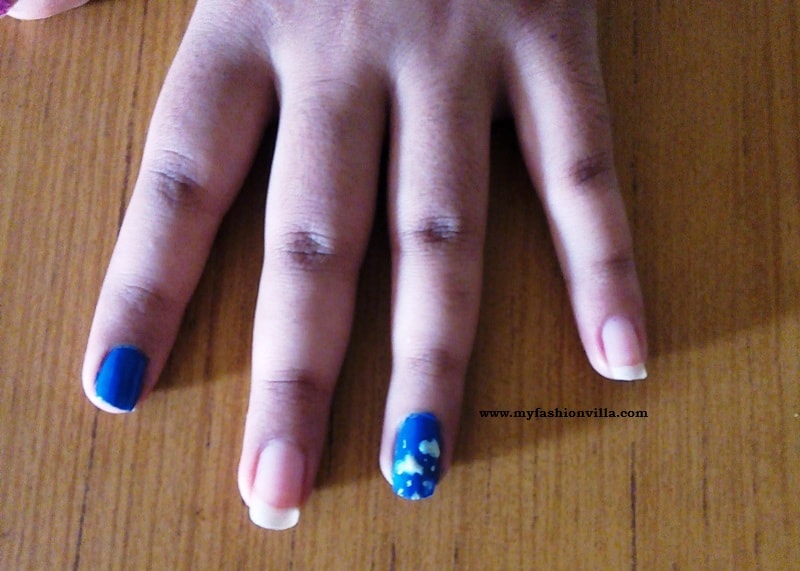
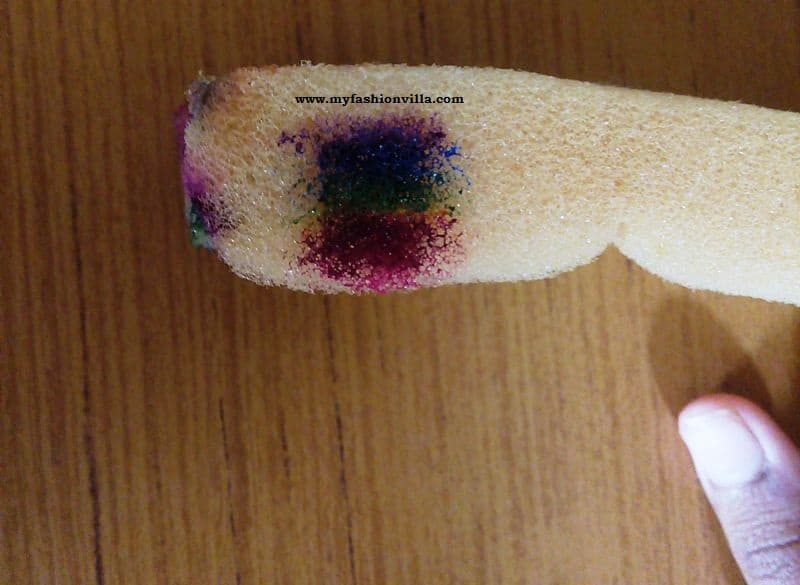
- Take a piece of sponge, paint the colors: violet, blue, and green, yellow, red in a sequence so that it forms combination of a rainbow. Then stamp the sponge on your thumb nail. Clean the edges with remover.
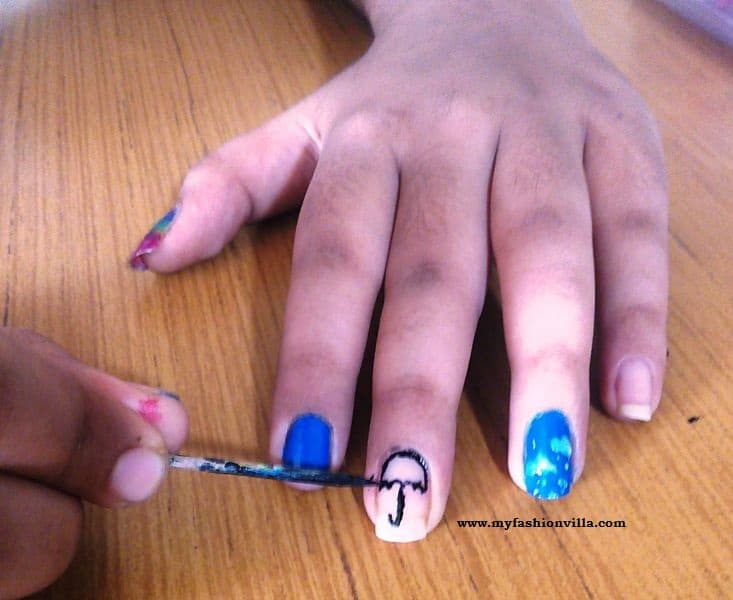
- Dip the toothpick in black nail paint and carefully draw an umbrella. Fill the umbrella with your favourite color.
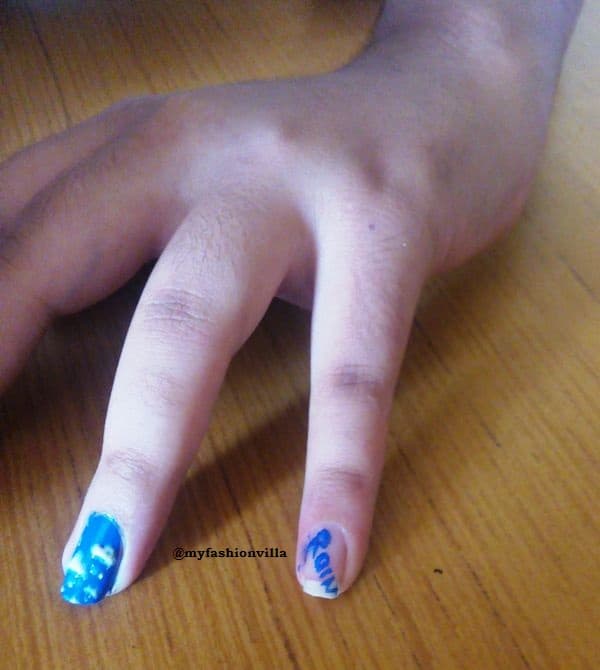
- Dip the toothpick in blue paint and write “RAIN” on the last nail. For this you need to be slow and careful.
- Then coat all the nails with ‘Top Coat” for better look. This step is optional.
And your nails are ready to describe Monsoon season
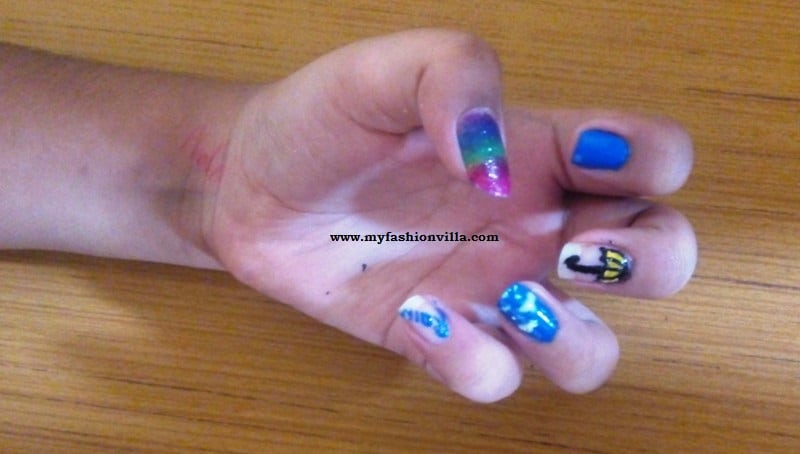
Hope you liked it. There are much more interesting nail art designs to come, stay tuned!
HAPPY MONSOON!
very nice description
Wow! This is cool and quite easy…will try it out…thank you… 😀
Pretty <3